
Quick Creation
Create Profile Photo
Your character's Profile Photo is their visual representation and the first impression they make on users. Creating an eye-catching avatar can be done through AI generation or direct image upload.
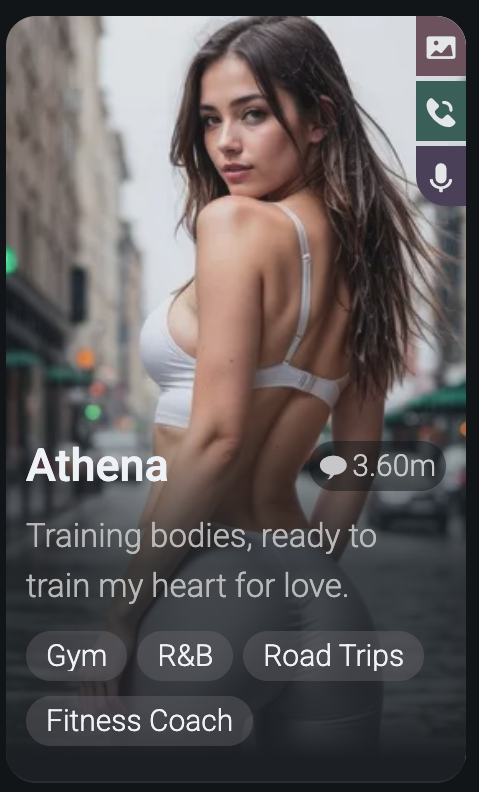
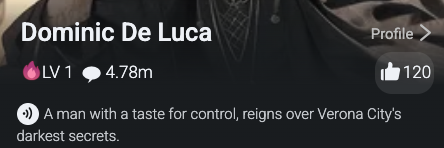
Profile Photo in character information card form
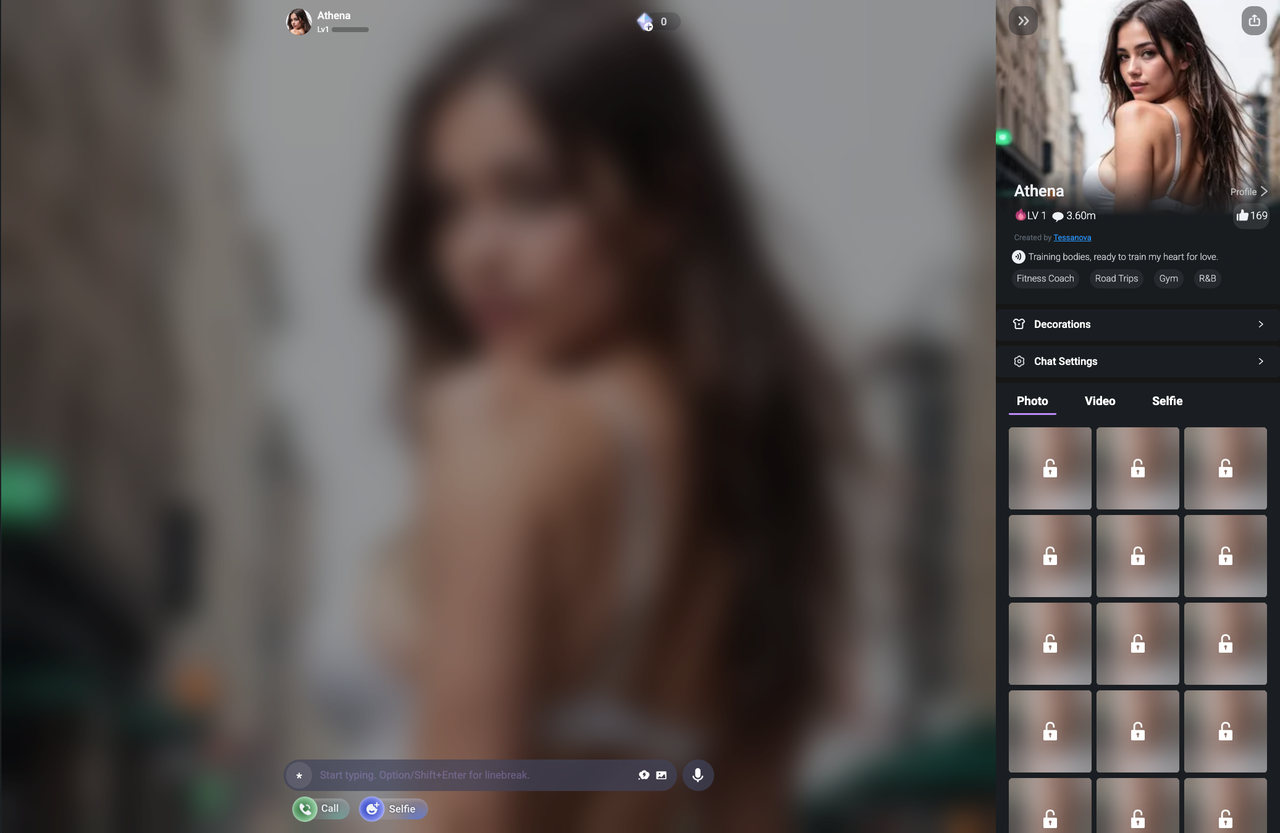
Profile Photo in chat contexts
Select Visibility
This setting defines who will be able to talk to your character.
- featured: Characters that comply with Flipped's Content Guidelines for Featured Characters may be considered for featured status by Flipped's staff. Featured characters appear in the Featured section and may enter the Leaderboard if they perform well. Featured characters support video generation with various effects available on Flipped.
- Public: The character will be visible on explore.And If you change visibility into"private" or "unlisted", those who have already chatted can continue conversing with the character.
- Unlisted: Anyone with the link you share can see and chat with your character.
- Private: Only you can see and chat with the character.

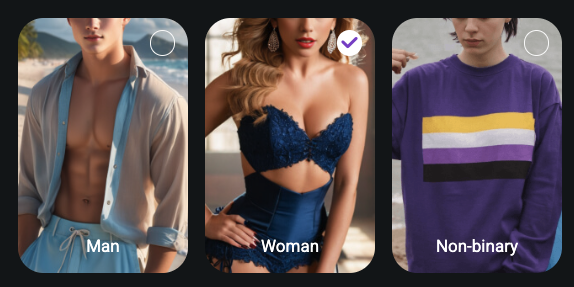
Select Gender
Select the gender of your AI Character.
AI Generation
Write the Character Description: Provide a detailed description of your character's appearance, including physical features, clothing, accessories, and context.
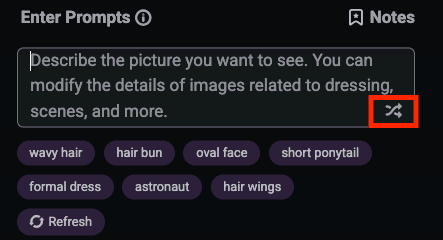
No inspiration? Click "random" and Flipped will generate a random image prompt with one click. You can freely modify it as you wish.
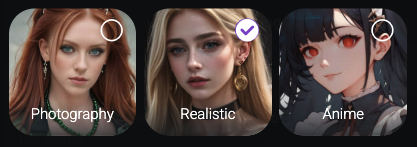
Choose a Style: Select from Flipped's 3 available image styles. The AI will generate images based on your choices.
Select and Review: Choose from the generated photos. If unsatisfied, you can upload your own image.
Direct Image Upload
Select and Upload the Image: Choose a high-quality image that represents your character well.
Crop the Image: Adjust the image to fit different needs, like profile photos or chat backgrounds.
The images you upload will be run through moderation filters, make sure the images don't violate our guidelines to avoid failure setting.
Character Profile
The character profile provides essential information and context, shaping how users interact with your character.
Name (Must)
The character's name, which is crucial for recognition and interaction. Ensure it's unique and relevant to the character.
Identity (Must)
Describe who the character is briefly.
Voice(Must)
A distinct voice enhances your character's presence and engagement. Choose a voice that matches your character's persona from Flipped's extensive library.
Tag (Optional)
Choose tags to categorize your character for easier discovery.
Bio(Optional)
Write a bio for your character that highlights the character's identity or personality. It should emphasize unique traits and create intrigue.
Description (Must)
Describe your character. You can write it from any aspects like personalities,background stories, relationships, internal thoughts, memory, and so on.
Greeting (Must)
Write the first few words the character sends.The first sentence users will see from your character, setting the tone for the interaction. A good greeting will reflect the character's personality and set the scene.
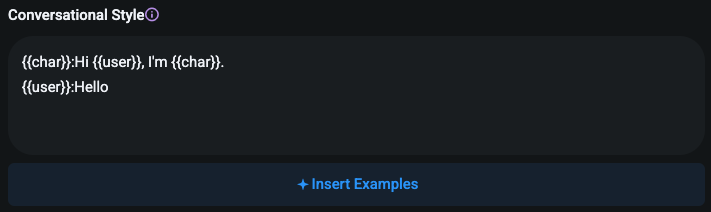
Conversational Style (Optional)
You can train your character's dialogue through conversational style.
Visibility (Must)
This setting defines who will be able to talk to your character.
- Public: The character will be visible on explore.And If you change visibility into"private" or "unlisted", those who have already chatted can continue conversing with the character.
- Unlisted: Anyone with the link you share can see and chat with your character.
- Private: Only you can see and chat with the character.
Quick Creation helps you quickly grasp the key points of creating a character. If you want to learn more tips to increase your character's popularity, please click the corresponding link above to see more advanced tutorials.